Blog

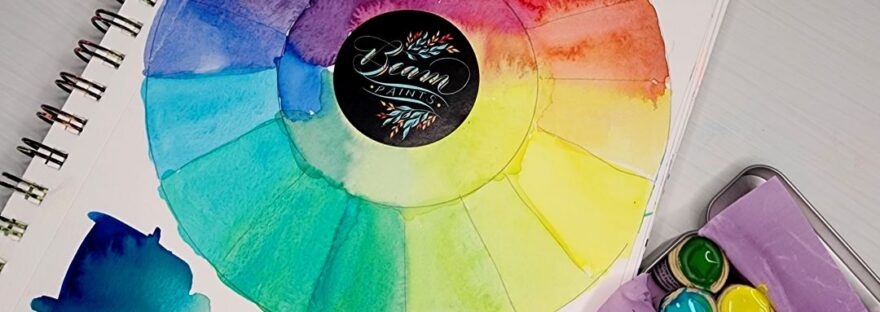
Colour Wheel Made with Beam Watercolours
Supplies I Use

Why I love Beam Paints – Made in Ontario!

Colour Wheel made using Beam Watercolour Paint Stones

Introducing Beam Paints!

My Dear Creatives,

I was doom scrolling one Sunday morning and happened upon the Beam Paints website, which led me down a rabbit hole of awesomeness. I know that I often tell you to use what you have, (just incase my husband is reading this), but I am hooked by the Beam Paint Story.

Made in Ontario on Manitoulin Island, by M’Chigeeng First Nation, these paints are lightfast, environmentally responsible, and super pigmented. I purchased 6 paint stones, which are made from lightfast pigments, tree sap and Maple Syrup. They come in recyclable packaging, wrapped in fabric soaked in bees wax to keep them moist and safe. I will show you an unboxing later, but I couldn’t wait to show you how beautiful these are!

What I Purchased:

Paint Stones

  • The CMYK palette, consisting of 4 paint stones: Topaz Lake, Cherry Magenta, Grasshopper and Mars Black.
  • Prussian Blue
  • Pine

Studio Supplies

Packaging:

The CMYK palette comes individually wrapped in a cute little bundle. The fabric is coated in bees wax to prevent the stones from drying out. Each paint stone is also nested in it’s own little “pot” made from waxed fabric, emphasizing their hand-made look. I can’t see any evidence of non-recyclable material anywhere.

The individual paint stones are placed inside of the Tin For 6, which I think is a great way to reduce shipping size and keep the carbon foot-print low. Each stone is wrapped in a piece of paper that includes its name in English and, what I believe may be Ojibwe, but I need confirmation. I love that Beam included this authenticity to the marketing of their product.

First Impressions:

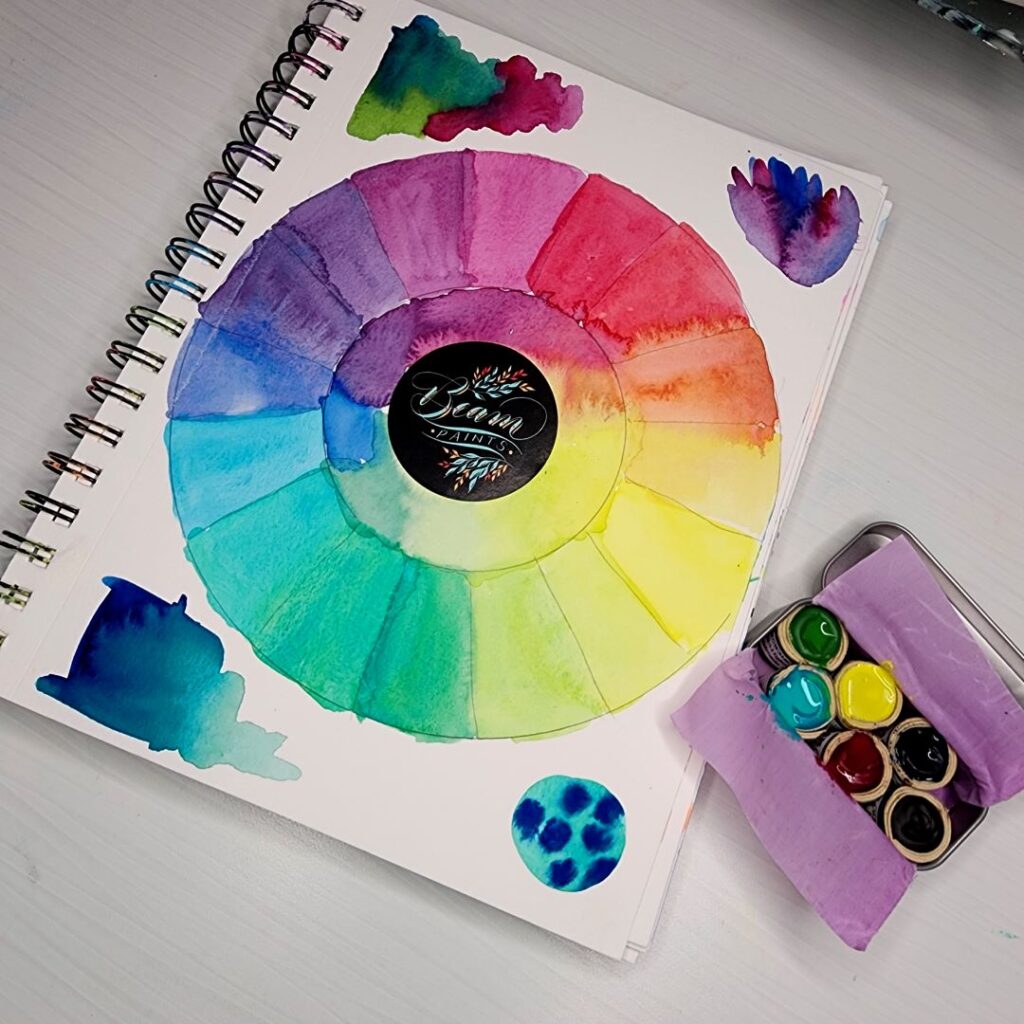
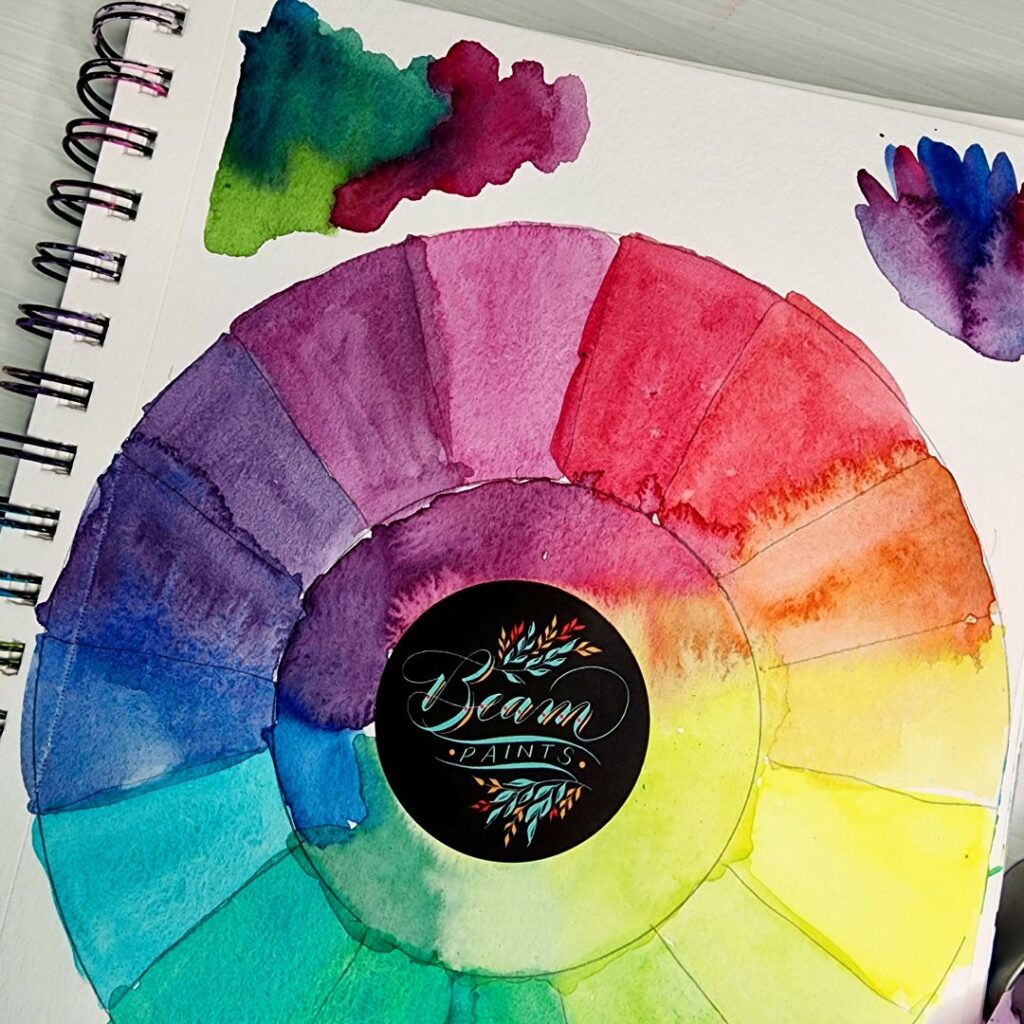
The beautiful little stones are slightly different shapes and are radiating that handmade vibe. You can see the care and attention that goes into manufacturing. The colours are so vibrant, it’s hard to take a photo that clearly shows you what they look like, but I made you a colour wheel below:
Seeing Is Believing

The Grasshopper is the yellow shade that actually appears much more florescent when you view it in person, and the red primary, you’re looking at cherry Magenta. It’s on the cooler side, but can be a suitable replacement for Quinacridone Magenta, which is my usual go-to primary.

On the outside ring is Topaz Lake for Primary Blue and on the smaller inside ring you can see the Prussian Blue.

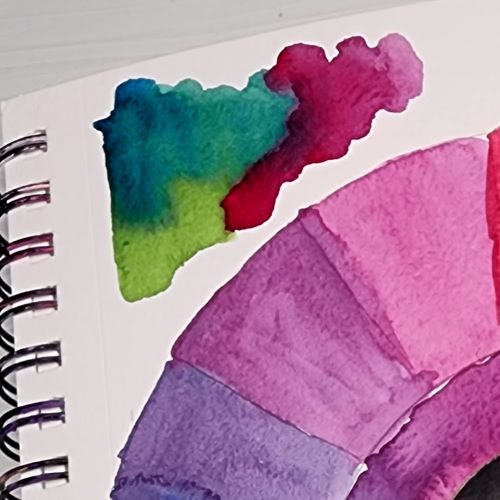
Sap Green features so often in my work, I chose to order a separate Pine paint stone. You can see below where I mixed it with Prussian Blue, and Cherry Magenta to experiment. I feel like the Northern Lights fell out of the sky and onto my page!
Workability:

These paints blend easily. The Topaz Lake had some opacity to it, and almost mixes like Gouache. I am using Canton XL water paper here, which is cold press with a bit of a tooth, but the paint spreads smoothly and is easy to manipulate with more or less water. When it is fully dry, the matte finish is impressive and the hue barely changes in dry vs wet.

Final Thoughts:

There are no affiliate links, and I’m not receiving payment for any of this, meaning my words are my actual thoughts and feelings regarding this product.

I will be using these paints it for mixed media applications, after some experimentation. Beam Paints gives me every reason to want to use their product and to promote it to my readers. They do their due diligence and test their stones at Duke University for their AP certification, and toxicity. They are extremely knowledgeable about pigmentation, the industry, and their customer base. Equally important is their care for the environment and their community, which is visible on every page of their website and product. I will keep you updated and present more samples of Beam paints in my work, but so far, I am in love!

Have You Tried Beam Paints?

Leave us a comment below. We love hearing from you!

Artists I Love, Mixed Media Art

Why I Am A Laly Mille Student

Being an artist is a rewarding and fulfilling calling. For me, it’s not really something to pick at when I’m bored, it’s a need. A driving need to create, to experiment, to express. I am always looking at the work of other artists for inspiration and when I saw Laly Mille’s work blending the natural world of the French countryside and her love of all things vintage, I was hooked. I discovered Laly last year when I saw her work on Willowing Arts. It was so expressive and so reflective of my own style that I couldn’t stop myself from purchasing a class. This is in now way a sponsored post, I do not work for Laly and am not affiliated with her in anyway, other than having the privilege of being one of her students.

Student work from Laly Milles Wild Roses class

Laly inspires her students to use what they have to express a thought, dream, or emotion through mixed media techniques. She breaks down the process in a way that anyone can learn, regardless of skill level, and creates a comfortable atmosphere that inspires creativity and a passion for the natural world.

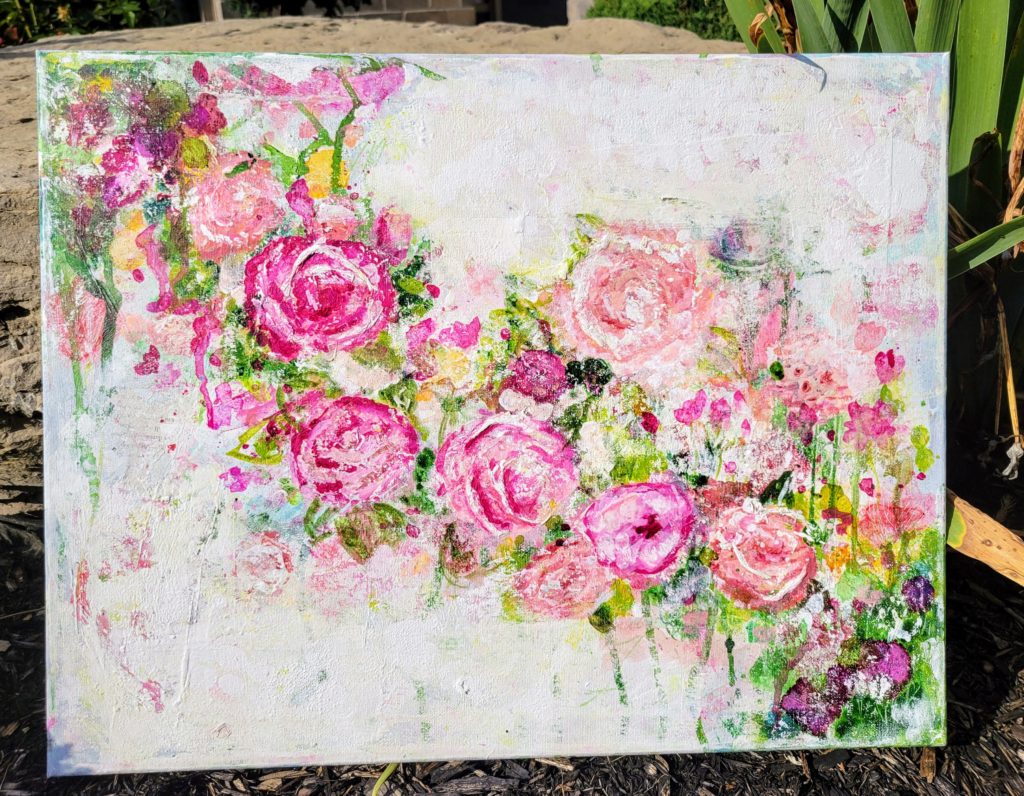
Last year I was able to participate in her Flower Flow class, which she describes as “A luminous journey of self-discovery through mixed media painting…” It really helped me stretch my mixed media skill and I used her techniques to create the below canvas.

Field Of Poppies

I was lucky enough to have this piece featured on her blog and site as an example of student work. You can see it here. I can’t tell you what it means to be able to take her style, blend it with my own, and create something that I love so much.

Not only do I enjoy her classes for what I can learn and to be inspired, I have to tell you, her voice and the music that she selects to enhance her videos is amazingly soothing and meditative. I sometimes play them while I’m working on other projects just because of the feelings of relaxation and peace I absorb while the main part of my brain is focused on other things.

As artists, we are always learning and growing. What a blessing it is when we have the opportunity to learn from each other and add it to our own style and body of work. I am a firm believer that no matter how much natural talent we have, there is something to learn from everyone. If you are feeling like you are in a rut, or can’t seem to find the inspiration to start a piece, I suggest you visit her site for a refreshing view from an artist that has been where you are and can help you on an artistic journey to something new. If you are already familiar with Laly, We would love to hear your story. If not, please take a minute to visit her site and let us know what you think.

Do you have a current favourite artist that is inspiring you to create lately? Let us know in the comments!

You can see other work inspired by Laly on our Instagram

Mixed Media Art

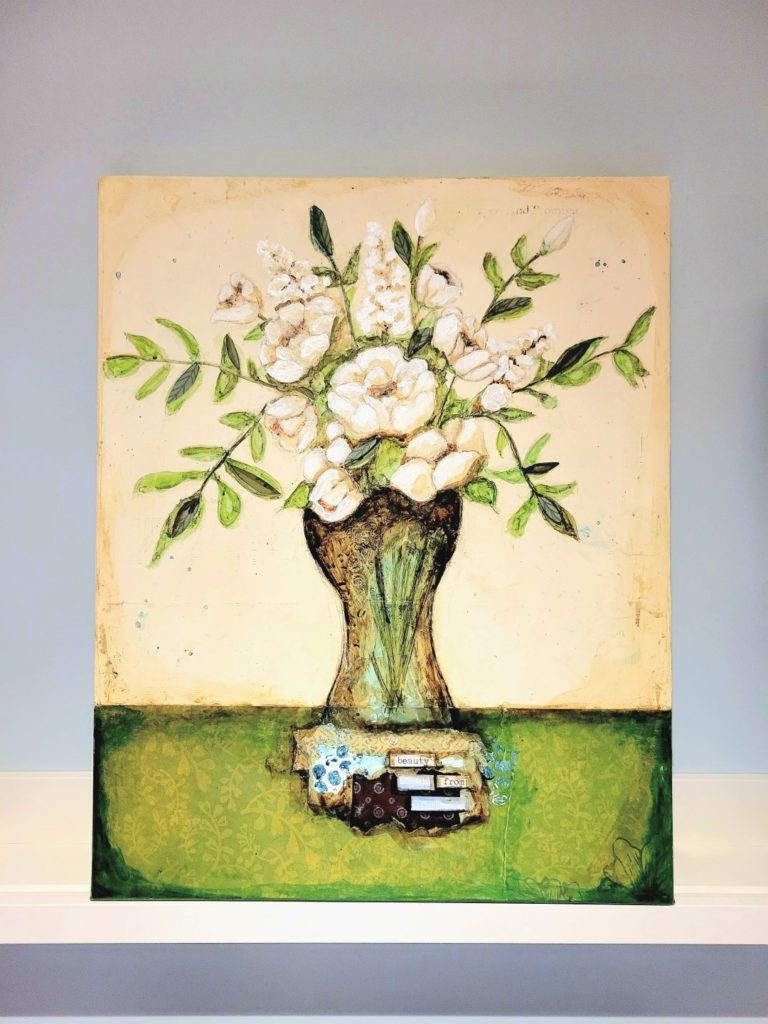
Graceful Stems

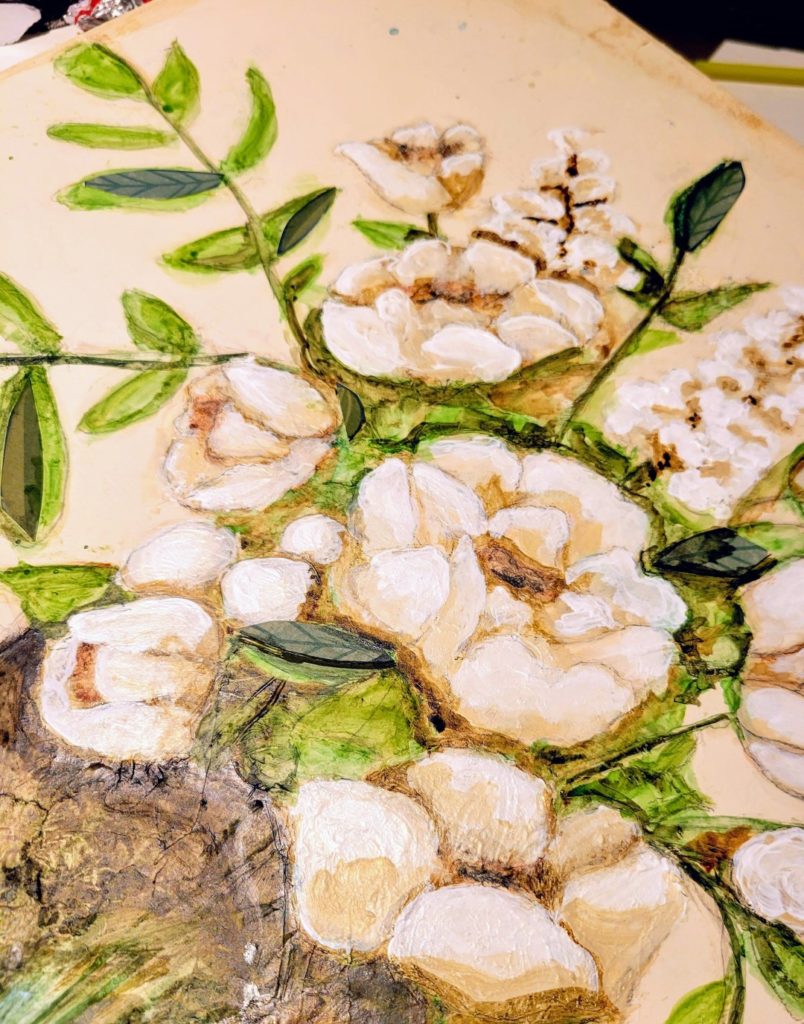
This was an absolute joy to create. Mixed media art is what I always wanted in a passion: It’s never the same, the steps are short, (which bodes well for my attention span), and there are always new things to learn. This piece, “Graceful Stems”, is the result of a Laly Mille class and I am definitely making more of these. My flowers turned out to be half peony and half rose, which I love.

I worked in chalk paint, watercolour, acrylic, gesso and various other media. I won’t show you a picture of the current state of my studio because it will scare you.

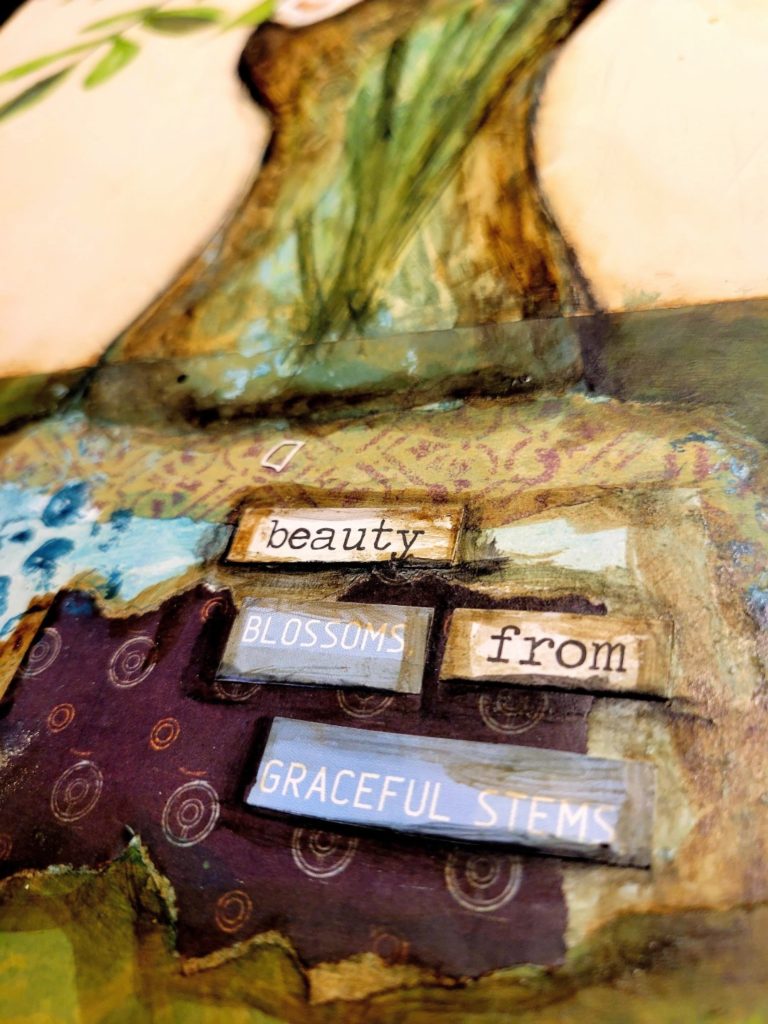
The words I pulled from Tim Holtz Idealology stickers and a bridal magazine that I have owned since 2004 – it’s about time it was useful.

This is posted for sale in the shop and now I’m trying to think of what I want to paint next.

What flower would you like to see as part of the collection of Graceful Stems? Tell us in the comments below!

Dawn Fox Staff

Our Team Is Growing!

At the studio, we are working diligently to bring you new workshops and inspiration. We also have an exciting surprise! Our new Research Assistant, Lily, has agreed to come on board and help us bring you new content and news with regular blog posts and social updates. Lily is a recent graduate and has a fresh outlook on organizational tips, new products, solutions and improvements that will help all of us in our daily, crafty lives. Please join me in giving her a warm welcome! You can read her first post here, and she will be back soon with more great content! We are so happy to have you join our team Lily!

Lily is a research assistant for Dawn Fox Studios
How To, Uncategorized

How-To Clean Paint Splatter Off Your Monitor, (And How To Protect It From Future Creative Mess)

By Lily – Dawn Fox Research Assistant

While painting I tend to lose sight of my surroundings and end up with paint everywhere. Normally I wouldn’t mind because I cover up my workspace. I’ve tried a few tutorials which ended with paint splatter on my monitor and on my phone screen. Here’s what I found when finding ways to clean my monitor and how to keep it clean in the future.

Removing Paint and Other Substances from Electronics

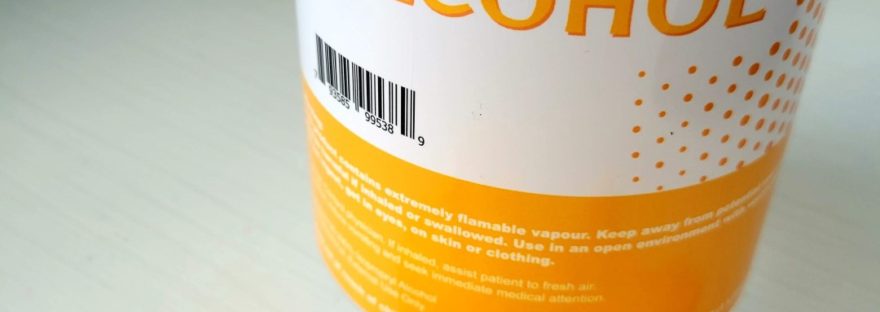
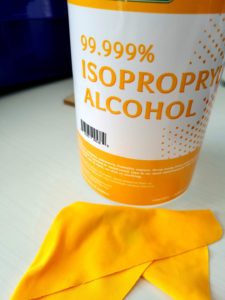
Cleaning up paint splatter is easy with the right materials. To clean the paint off your monitor you can use nail polish remover or 100% rubbing alcohol (isopropyl alcohol), on a soft cloth. Microfiber cloths or scraps of softer fabrics will keep your monitor from getting scratched while cleaning. 

Apply the alcohol to the cloth, then use gentle circular motions with the cloth – the paint will start to soften and come off. If you’re worried about the alcohol harming your computer monitor, you can try diluting it with water. You can slowly add more alcohol to your mixture until you get the desired outcome.

Before and After

Keeping your Monitor Safe During Messy Projects

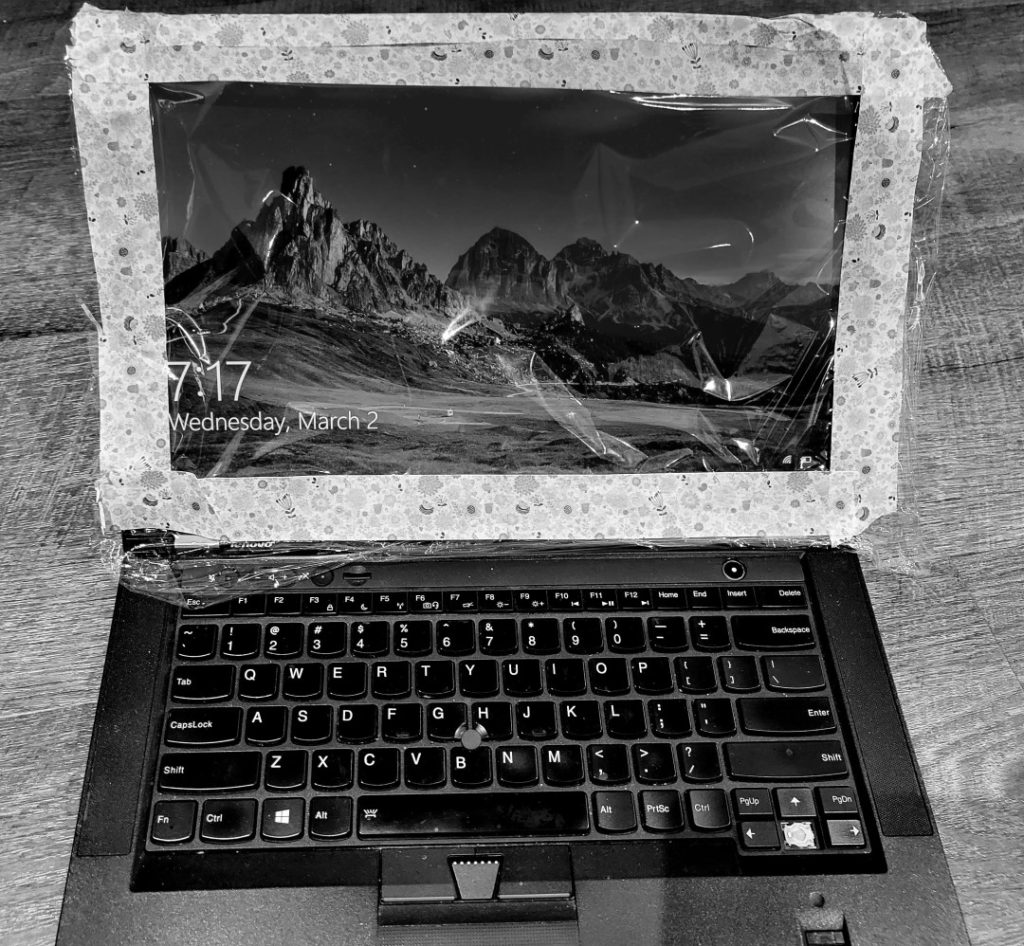
Now that everything is clean, let’s keep it that way! To prevent paint from getting on your monitor screen you can buy a cover for your monitor or you can make your own out of a few simple household products. There are issues with both options, the price of buying a cover and cleaning it in the same way you had to clean your monitor. With making your own, plastic wrap is also famously difficult to work with (because of the way it sticks to itself) but it is easily disposable and inexpensive.

DIY Monitor Cover

Cleaning paint off your monitor isn’t a difficult process but it is tedious and, I don’t know about you, but I can never find the rubbing alcohol when I need it. To prevent getting a mess all over your monitor while crafting, one of the best options is to create a disposable monitor cover that isn’t bank-breaking and is made out of on-hand materials. Making your own monitor cover is simple and you only need plastic wrap and a roll of 1 inch painters tape!  Let’s walk through the steps: 

  1.   Rip off pieces of tape slightly larger than your monitor and lay them down sticky side up.  The idea is to build a “frame” with the tape.
  2. Tear or cut off a piece of plastic wrap that is sized to fit the frame but ½ inch smaller.  You want the plastic wrap to stick to the tape but leave enough sticky surface left to stick to the monitor.
  3. Carefully pick up your new monitor “shield” and place it over top of your screen so that the sticky tape comes in contact with the plastic frame of your monitor and gently push the tape down so it sticks.

Then, voila! No more paint splattered monitors.

Though difficult to work with, saran wrap is clear and cheap, meaning you can still use your monitor without the fuss of paint splatter – at least that’s my solution.

You can take a look at Dawn Fox’s preferred monitor cover here: (this is not an affiliate link and we do not get paid for this).

Its expensive but worth it to save your monitor.

Any other ideas on keeping your monitor clean while crafting? Leave us a comment and tell us your solutions!

Stamping, Storage

Acrylic Stamp Storage – Using What You Have

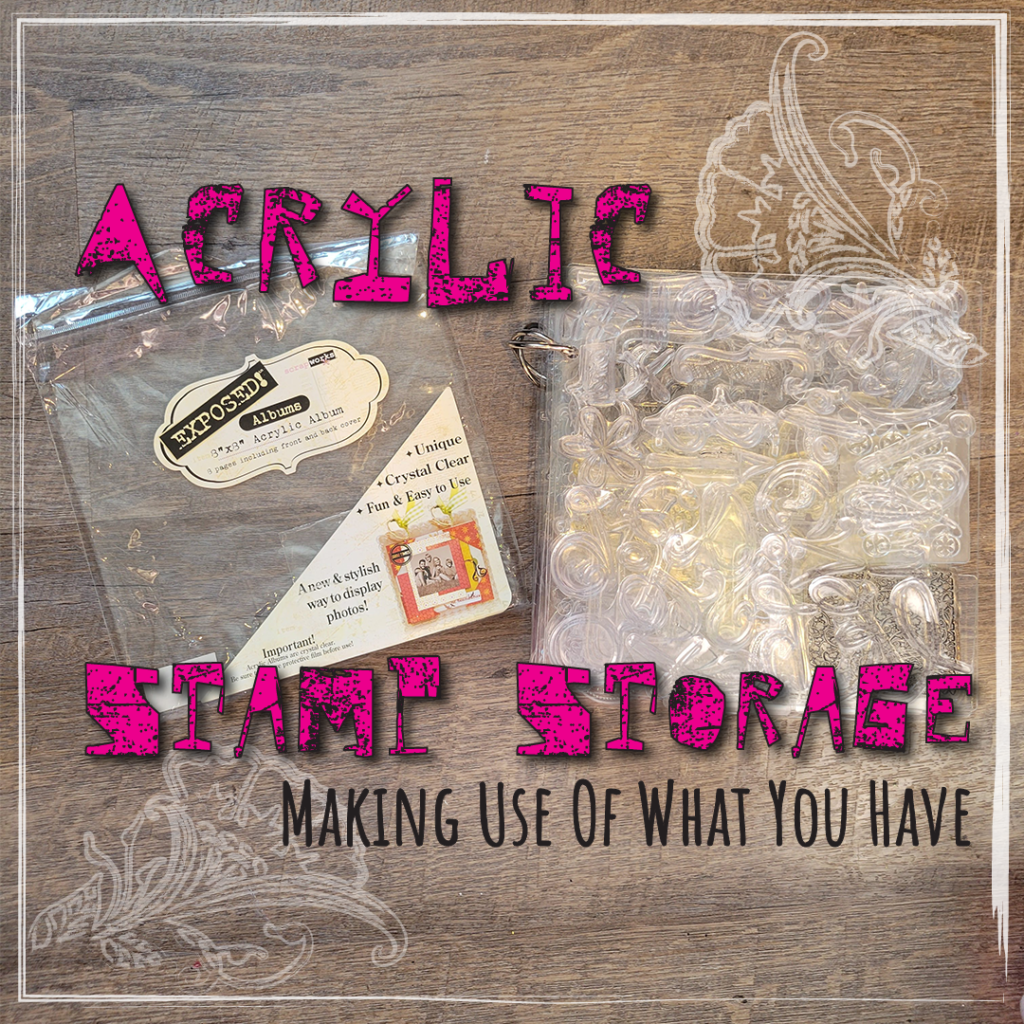
My acrylic stamp storage has long been a thorn in my side. I had them in plastic sleeves in an extra large 3 ring binder that was bulky to store and took up far to much room. Not to mention that when it feel over, all the stamps spilled out the top of the sleeves and I was forced to shove them back in. The ability to turn pages didn’t play out like I thought it would – the stamps slipped around inside the sleeves, were hard to see and putting them away was tedious.

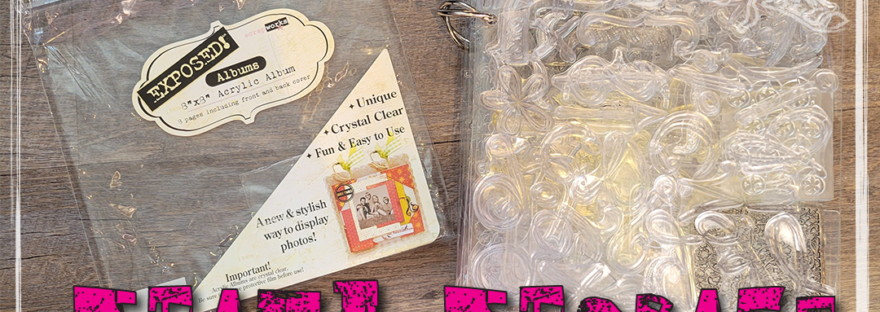
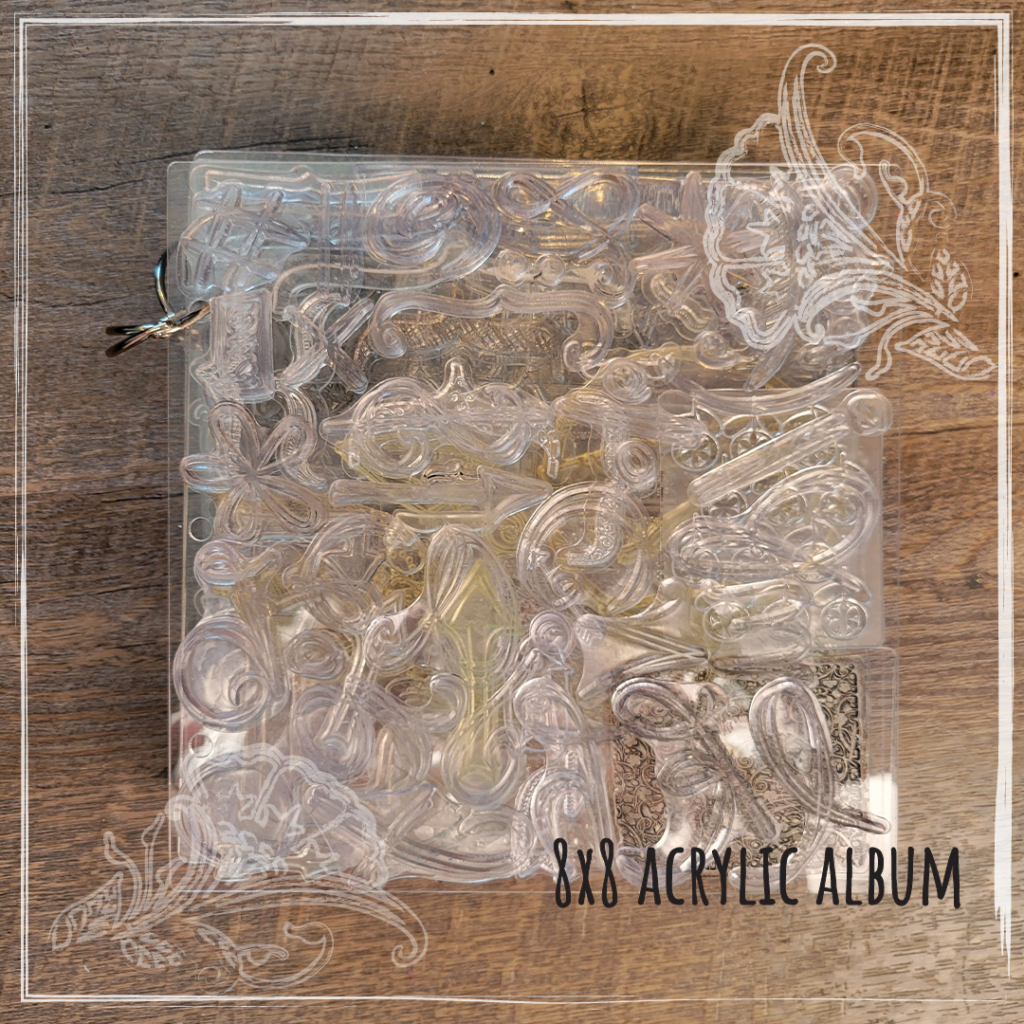
I began looking around on Pinterest and thought about buying some acrylic sheets to store and then filing them in my desk. I found some dollar store frames I thought might work, but these too were bulky. While looking for a place to store these frames I came across this 8×8 acrylic album with 8 blank acrylic sheets that I had been intending to use for scrapbooking and never had been inspired enough to do so. I believe I’ve had it for at least 15 years and it’s probably moved to at least 4 houses. I decided to go for it! I removed all my stamps from their sheets and arranged them on the pages of the acrylic album so that they would stay together and also take up the least amount of space possible. I started with my favourites and worked my way down to the ones I use least. I was completely shocked by what I was able to fit on 8 – 8×8 pages! Nearly my whole collection and I had decreased the space it took up by 3/4! Not only that, but now they are easy to flip through and pull off only what I need, then clean and replace. The album sits neatly on my desk within easy reach – meaning I’m far more likely to use it.

I am a big fan of trying to repurpose things I have rather than purchasing new items. Was I realistically going to use this album for scrapping? Probably not. Even if I DO decide to use it someday it’s just a matter of removing the stamps, but I am so thrilled with this setup that I’ll likely keep it and maybe use my other ideas for future storage. It did take me a hour or so to tediously remove the stamps from their acetate sheets and arrange on the album sheets but I was kept company by Luna the studio cat and an audio book, (The Dragon Reborn from the Wheel Of Time by Robert Jordon. A childhood favourite brought into the present by the release of the TV series).

Do you have a unique way that you’ve repurposed an item for storage? Let us know in the comments below!

Workshop

Free Workshop: Layer-A-Day

Hi Crafty Friends! Let’s Make A Mess!

I promised you something exciting, and then covid came and blew up our lives with it’s crazy-germ-quarantining-craziness. We’ve been having a time here in the studio and adjusting to a more online lifestyle. That being said: WE ARE FINALLY BRINGING YOU SOMETHING EXCITING!

Everyday at 8pm, beginning on Monday January 10, 2022, I will be live on facebook bringing you our new Layer-A-Day free workshop! I will – once and for all – prove to you that absolutely anyone can do this. Each day we will add a new layer to an art journal page, ending up with something fantastic and made by YOU.

What will you need for this? Below is a short list of supplies. I don’t want you to run out and purchase things, I encourage you to make use of what you have. I will be there to help you with substitutions or alternatives if you don’t have the product on hand.

  • Your Dawn Fox Journal (or a sheet of heavy cardstock or water colour paper (something at least 120gsm)
  • some white gesso – or white acrylic paint to prime your sheet.
  • a few paintbrushes in various sizes. You do not need good quality brushes. Anything that doesn’t shed will do!
  • Black pigment ink pad that is archival safe.
  • Your favourite stamps for journaling. If you don’t have stamps grab some bubble wrap or anything you can make a texture with
  • A pigment ink pen such as a micron or any other fine liner (sharpies are great!)
  • Acrylic or water colour paints in your favourite colours
  • old magazines
  • scissors
  • Matte Gel Medium – we are essentially using this as glue – it “bites” into the paper allowing for very good adhesion and also helps seal. Alternatives are decoupage, or plain old white glue that dries clear.
  • Any other mixed media supplies you love such as acrylic ink, texture paste, washi tape, distress inks and sprays.

Our first night will be applying the gesso and background colours. My intention is to keep this to 15-20 min but I will also take time to answer any questions. You will be able to go back and watch the live videos on our facebook page at any time, so don’t worry about missing a thing!

You can join us at 8pm beginning Monday January 10! This is what I like to call “fly-by-the-seat-of-your-pants journaling. Meaning there is no plan. We make what we make and it will be making amazing!

You can find me here —> https://www.facebook.com/dawnfoxstudio

Post any questions in the comment section below and I will get back to you before the first live video.

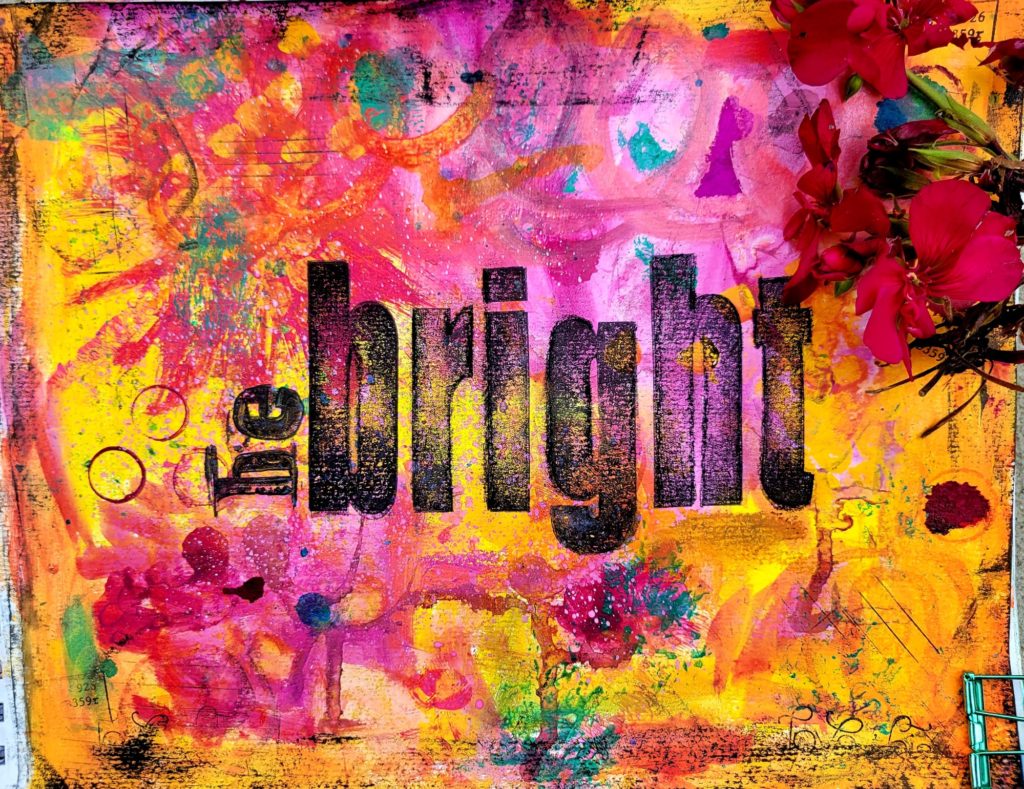
Here is some inspiration for you to contemplate. Doesn’t this just make you smile?

Journal

Dawn Fox is now at Hereafter.ck!

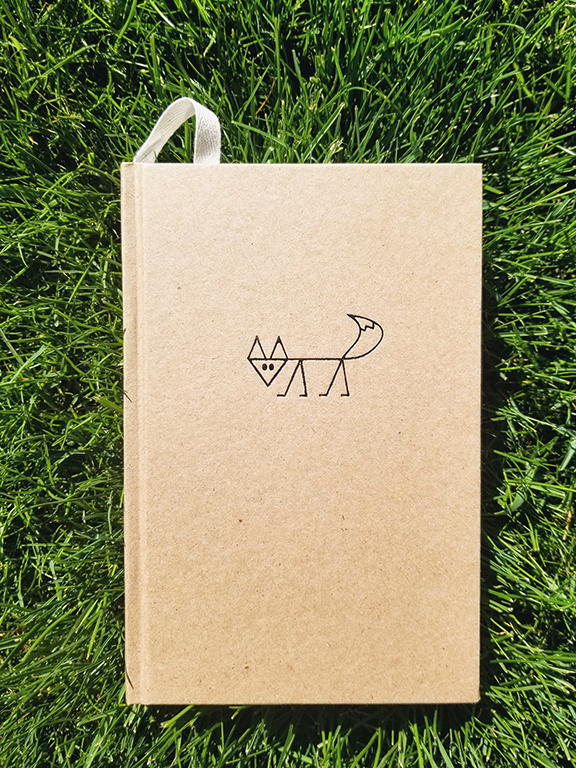
We are excited to announce that our A5 160GSM journal is now available at Hereafter.ck on Victoria Ave in Chatham! This is an exciting launch for us featuring a brand new journal that is beautiful as well as being completely eco-friendly. Hardcover, it is bound in kraft paper with a cotton twill bookmark. We are calling it “The Natural”. Visit @hereafter.ck today. They are open for online shopping and curbside pick-up while we are in lock-down but have a beautiful store stocked with eco-friendly MADE IN CANADA products. Yes. MADE IN CANADA. They feature a ton of local items and others from across the country. You can visit their facebook page here here or find them on instagram @hereafter.ck. Questions? Ask us in the comments below!